Hummingbirds are a captivating sight, with their shimmering colors and mesmerizing flight patterns. If you’d like to invite these delightful creatures into your garden, creating your own hummingbird feeder is a wonderful way to do it. A homemade feeder not only provides these birds with an energy-rich nectar source but also adds a personal touch to your outdoor space. Let’s explore a step-by-step guide to crafting your feeder and ensuring it becomes a favorite spot for hummingbirds.
Why Attract Hummingbirds?
Hummingbirds are not only a joy to watch but also play an important role in pollination. By attracting them to your garden, you’re contributing to a healthy ecosystem and encouraging biodiversity.
Materials You’ll Need
To make a simple yet effective hummingbird feeder, gather the following materials:
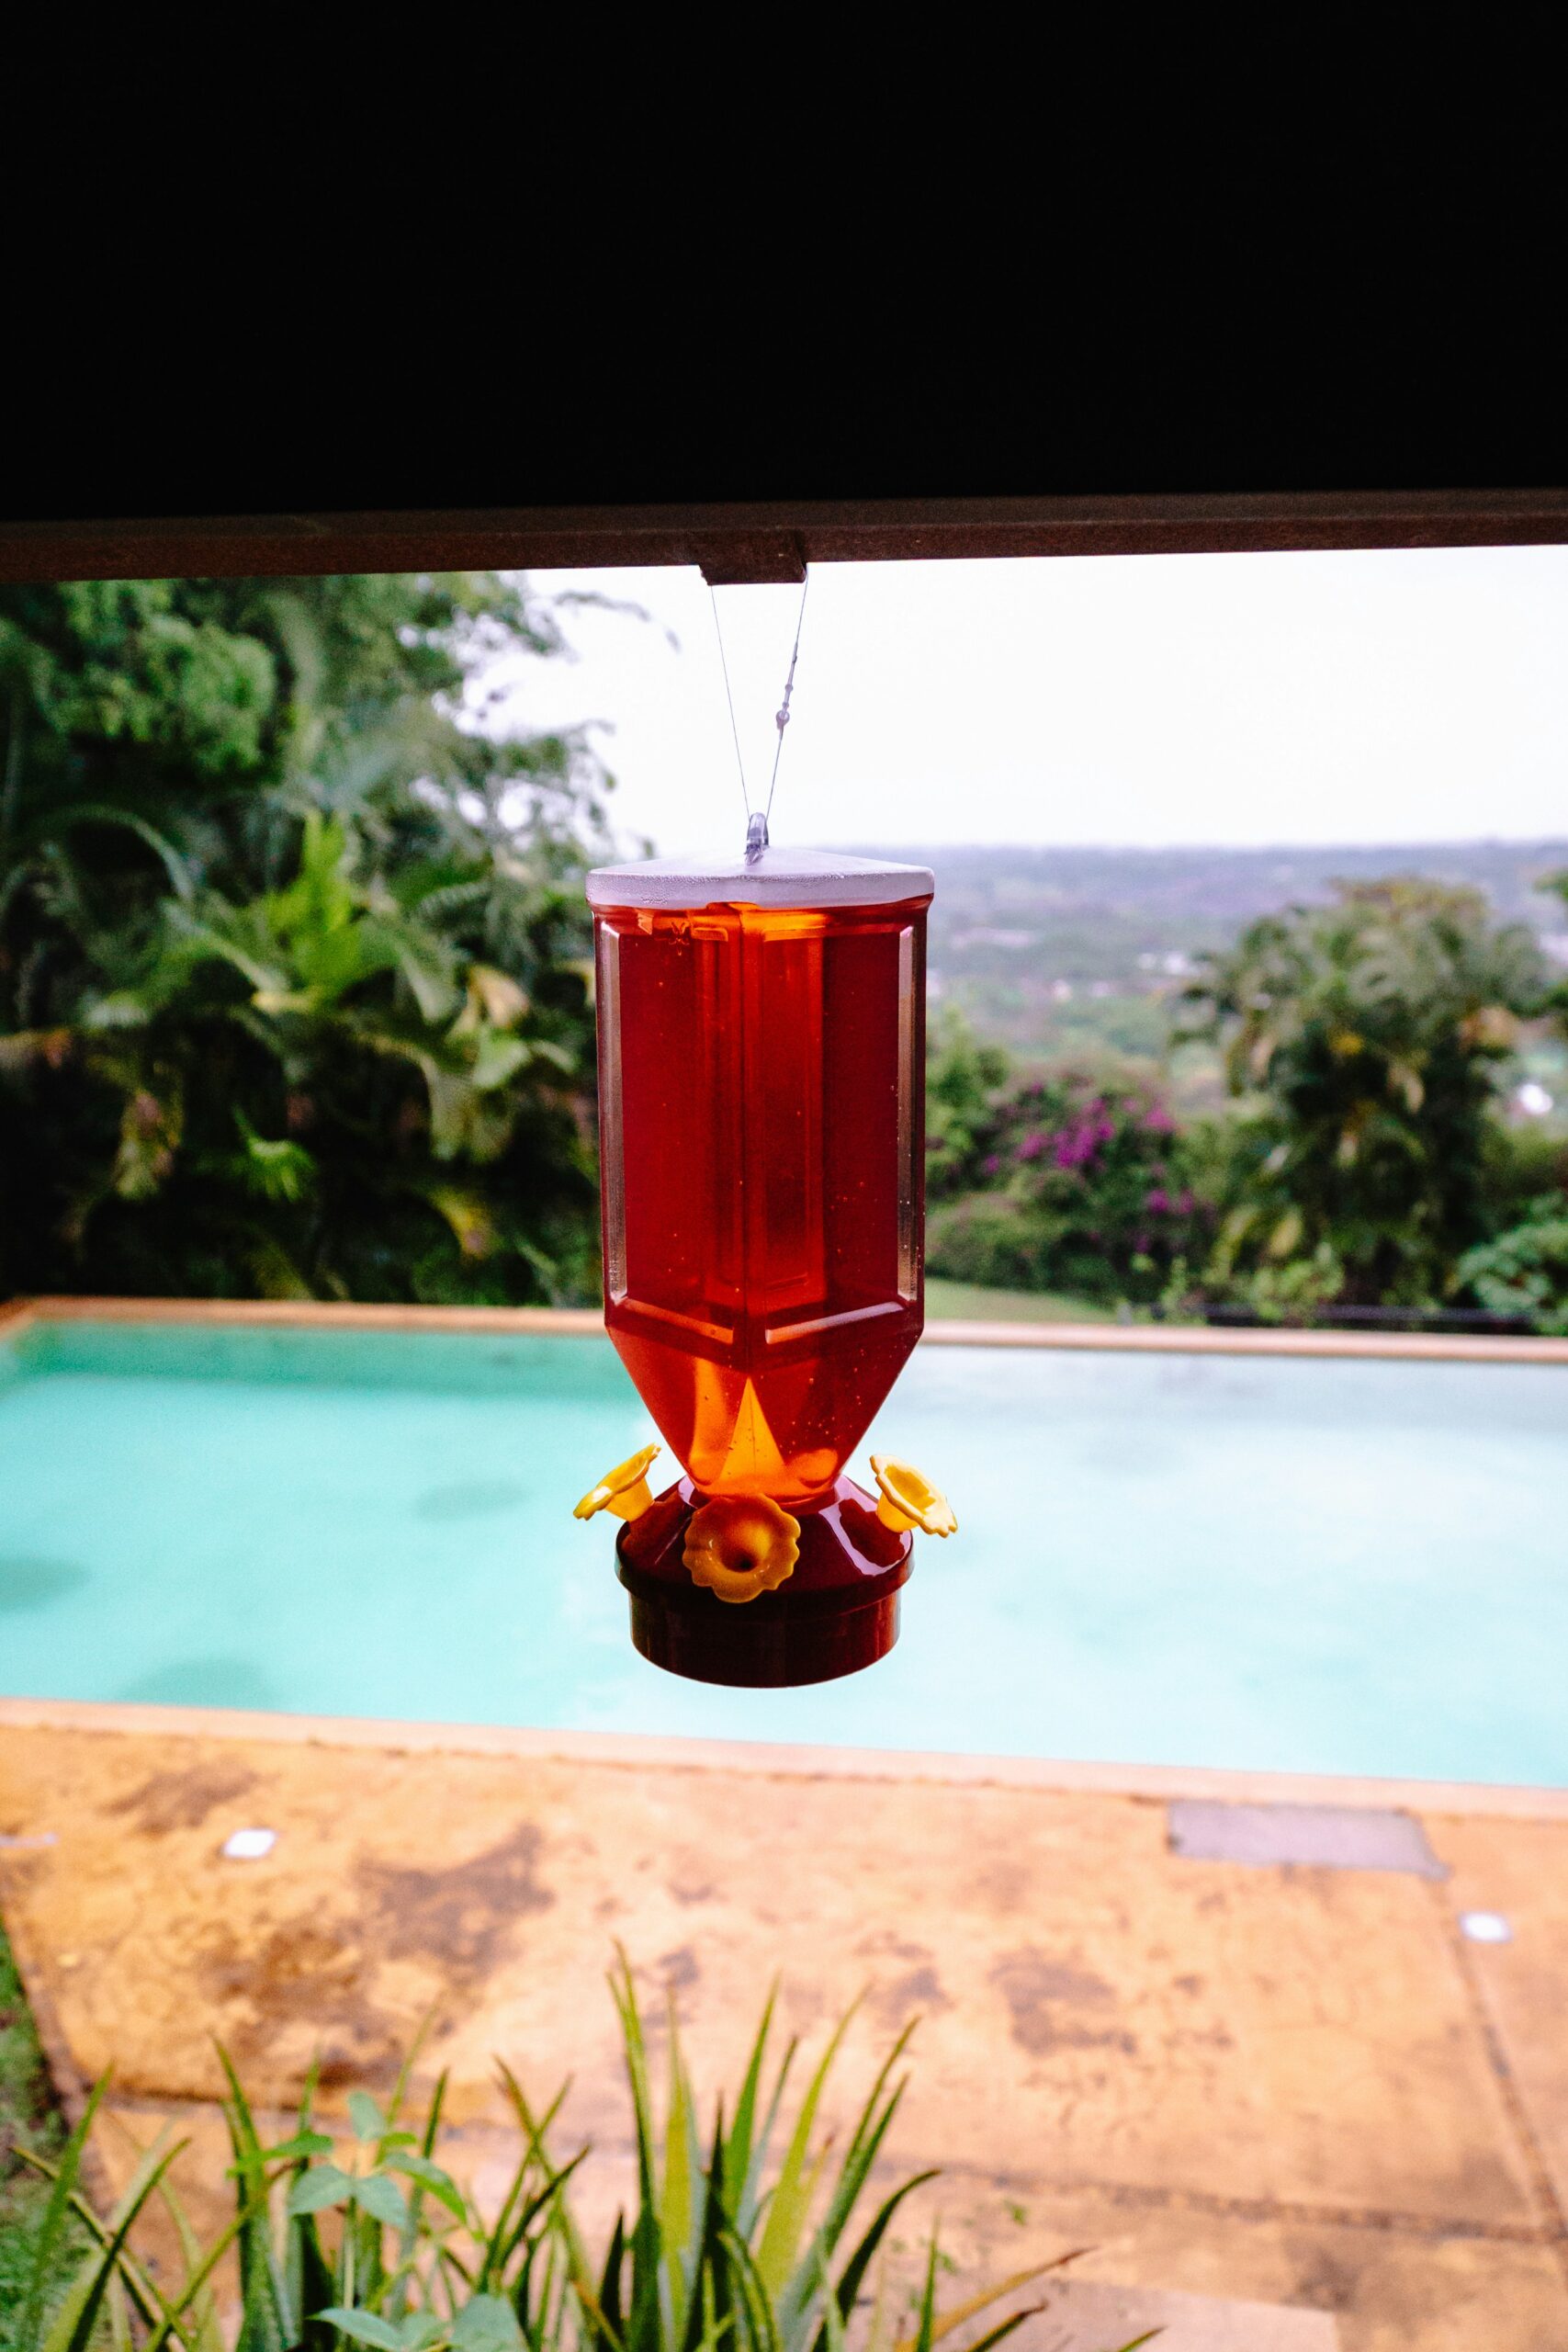
- A clean plastic or glass bottle with a tight-fitting lid.
- A plastic plate, bowl, or any shallow base for the nectar.
- A few feet of wire, string, or ribbon for hanging the feeder.
- A red-colored paint or tape (optional) to attract the hummingbirds.
- Scissors or a craft knife.
- Waterproof glue or sealant.
Step-by-Step Instructions
1. Prepare the Nectar
Hummingbirds feed on nectar, which you can easily make at home. Here’s the recipe:
- Mix 1 part white granulated sugar with 4 parts water.
- Stir until the sugar dissolves completely.
- Avoid using honey, artificial sweeteners, or food coloring, as these can harm the birds.
- Let the mixture cool completely before filling the feeder.
2. Create the Feeder Reservoir
- Use a clean plastic or glass bottle as the nectar reservoir.
- Make a small hole in the lid of the bottle, just big enough for the hummingbirds to access the nectar. Be cautious not to make the hole too large, as this can lead to spillage or attract other insects.
3. Attach the Feeding Base
- Securely attach the bottle to a shallow plastic plate or bowl using waterproof glue or sealant. This base will serve as the area where hummingbirds can perch and access the nectar.
4. Add Perches (Optional)
- While hummingbirds can hover as they feed, adding small perches around the feeder can make it more welcoming. Use sturdy, bendable wire to create simple loops or shapes, and attach them to the feeding base.
5. Decorate the Feeder
- Hummingbirds are especially attracted to the color red. If your feeder doesn’t already have red elements, add some using paint, tape, or ribbons. Ensure that the decorations are non-toxic and securely attached.
6. Hang the Feeder
- Choose a shady spot in your garden to hang the feeder. Use a sturdy wire or string to suspend it at a height where the hummingbirds can easily reach it.
- Place the feeder away from areas with strong winds or direct sunlight, which can cause the nectar to spoil quickly.
Tips for Maintaining Your Feeder
- Clean Regularly: Wash the feeder thoroughly with warm water and mild soap every 2–3 days to prevent mold and bacteria.
- Replace Nectar Frequently: Hummingbirds prefer fresh nectar, so replace it every 2–3 days or sooner in hot weather.
- Avoid Pesticides: Keep the area around your feeder free from pesticides and chemicals that could harm the birds.
Conclusion
Creating a hummingbird feeder is an enjoyable and rewarding project that brings nature closer to your doorstep. By providing a safe, nutritious nectar source, you’ll soon be rewarded with visits from these enchanting birds. Take the time to observe and appreciate their beauty, and you’ll find that your garden becomes a vibrant and lively sanctuary.